Monday, April 1, 2013

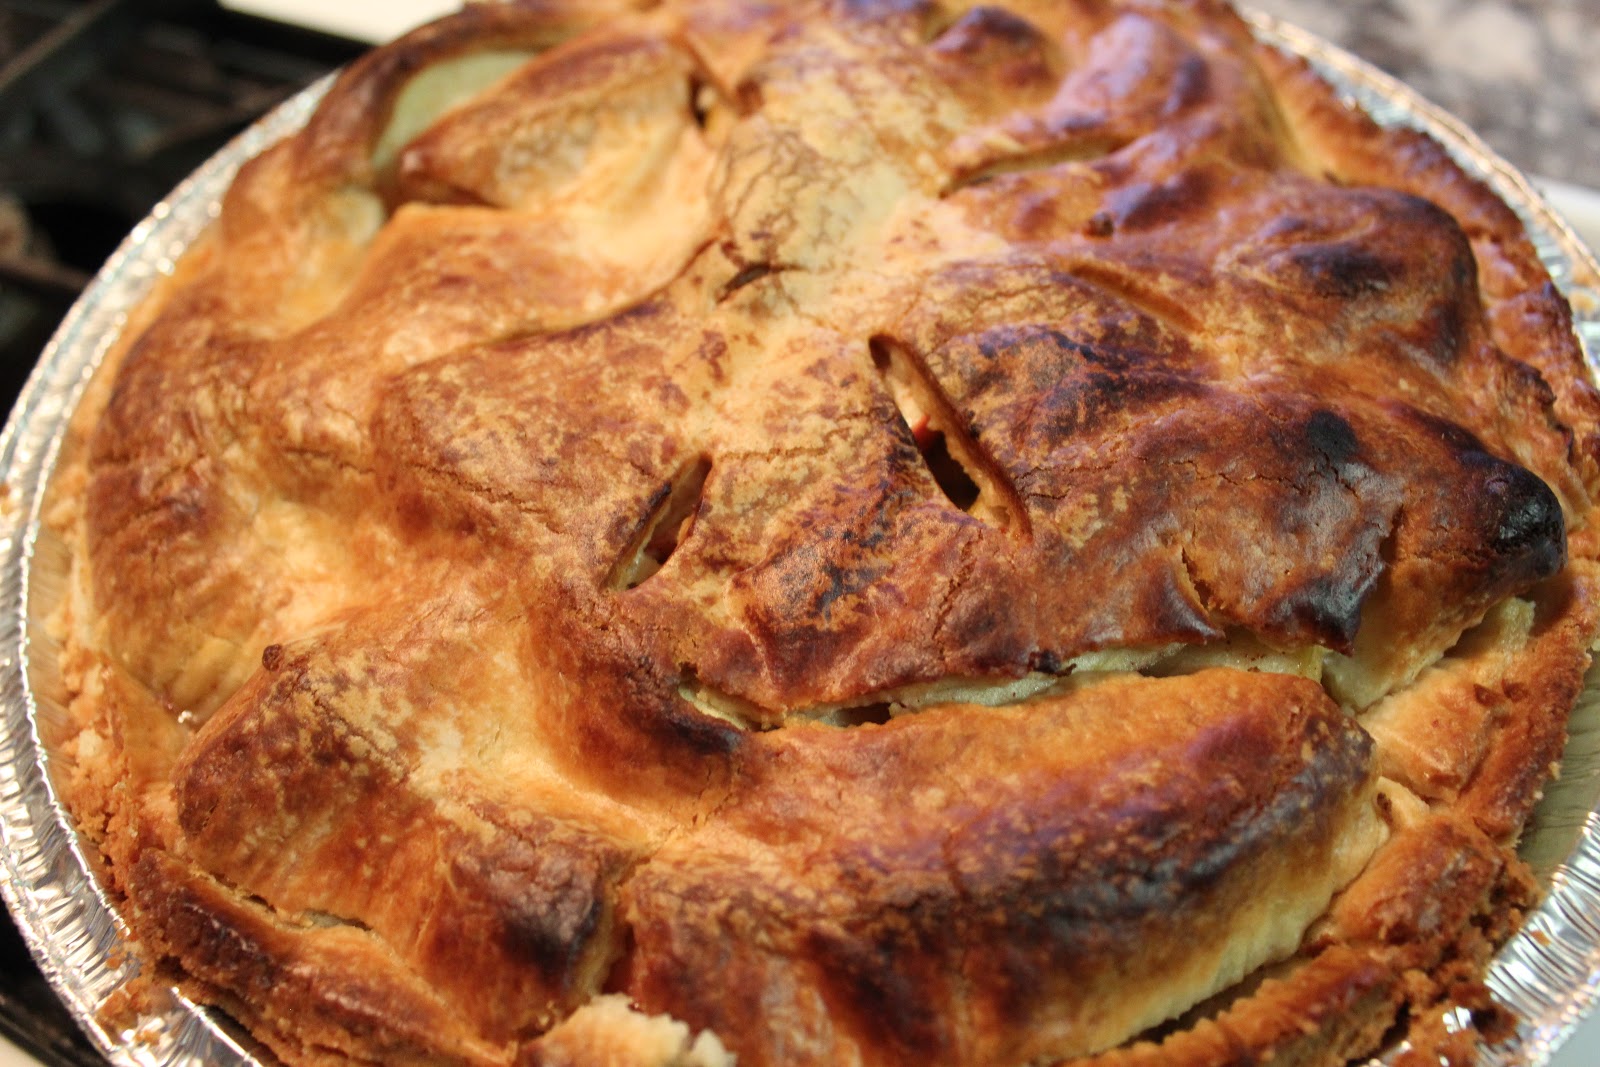
Grandma's Apple Pie

I was really craving apple pie the other day so I decided to make one using my grandma's recipe.  It was delicious!


Ingredients:
  • 6 cups thinly sliced apples (about 4 large)
  • 3/4 cups sugar
  • 2 tablespoons flour
  • 3/4 teaspoon cinnamon
  • 1/4 teaspoon salt
  • 1/8 teaspoon nutmeg
  • 1 tablespoon lemon juice
  • 1 tablespoon butter

Combine all ingredients in a large mixing bowl.  Let sit 1 hour to soak.

Spoon mixture into prepared pie crust.  Top with second crust, cut slits in the top.

Bake at 425F for 35-40 minutes or until apples are tender and crust is brown.

Thursday, March 28, 2013

What came first the chicken or the egg?

I just wanted to give everyone a chicken update.  We had another chick hatch today and we have two left in the incubator still.  We have had great survival rates so far (100%) for hatched out and store bought chicks.  Now we are up to 16 chickens total. 

1 Dominicker rooster
3 Australorpes hens
1 Wyandote hen
1 Rhode Island hen
4 Easter Egger chicks
1 Rhode Island chick
5 mixed breed chicks from hatching
Here they are scratching at our kitchen floor. 
Big difference between 1 Day and 1 WEEK old chicks!
Mama Rem keeping an eye on them.

The best part about having pet chickens. FRESH eggs!  Do you have any idea how old store bought eggs are?  Well neither do I, BUT I do know they aren't "fresh as fresh can be"!  Some studies show organically raised and free range chickens have 4 times lower rates of salmonella than traditional laying farms. 
So ugly, he's cute.  Pretty energetic for being about 6 hours old!

Since it does take supplemental feed to keep our chickens from going hungry because they are not ALWAYS free ranging (just when we are home to supervise) it does cost a little to keep them.  So to offset the costs of feed we have decided to start selling some of our excess eggs.  We will keep a special piggy bank just for chicken expenses.  The money from selling the eggs will go in the bank and the money for feed will come out of it.  At the end of the year we will see how we did!


Sunday, March 24, 2013

Biggers Bed and Breakfast in Hardy, Arkansas


I had the weekend off work and the weather was not going to be permissive for any work outside, so my husband and I decided to take a little weekend getaway for Spring Break.  We stayed at Biggers Bed and Breakfast in Hardy, Arkansas in the relaxing and romantic Shangri La suite.  It is perched on top of a very high bluff and has sweeping views of Spring River below.  On a clear day they say you can see about 9 miles.  We had a jacuzzi, gas fireplace and a balcony with an gorgous view; it was so relaxing we never even turned on the tv.  This morning the fog was really heavy on the river, but as the sun came up I was able to get some really gorgeous pictures even though it was cloudy and cold.


The gazebo.


They also have a restaurant on the property, The Bluff Steakhouse.  We had dinner there last night and my ribeye was so melt-in-your-mouth tender and perfectly cooked I am already craving another one.  They also have a great bar and wonderful cocktails.


From the sunroom, you will have the best table view around.

The pool area, which although we did not test out due to inclement weather, would be so much fun to lounge around on a hot, summer day.


We had a great time and cannot wait to go back!

Saturday, March 23, 2013

Frozen Tomato Seedlings, Anyone?

Since usually I get to brag about how well our garden does, I also have to be completely honest here and record my non-successes.  I don't want to gloss over how easy it is to grow your own food from seed because it does take alot of work and care, therefore I must tell you about my first (of many, I'm sure) major gardening failure of 2013.

The COLD SNAP occurred this past Wednesday night, I was caught totally unaware. Thursday morning our thermometer showed 27F and yet it still didn't hit me that I had left the tomato seedlings in the greenhouse.  They had been out there for two weeks looking great and having no problems staying out there overnight when the lows were mid 30s.  Nope, it did not hit me until I checked on the after work and I found this...
:(
Frozen to death, the lettuce still looks great though!


So sad.  I moved them inside immediately, gave them the pep talk of their lives, set them under a heat lamp and slunk into a very bad mood.

All my hard work!  For nothing!

The next day it snowed 5 inches...wait, what?  Wasn't it 80F last weekend?  And wasn't last March the warmest March on record?  And didn't I plant my Roma tomatoes the first of April last year?  Am I not in (Ar)Kansas anymore, Aunt Em? 

And about a day after THAT I finally got over it, trimmed the dead leaves and began a search and rescue mission for survivors.

As I snipped off dead leaves under the grow light, I could still see some bright green leaves hanging on for dear life!  So I sucked it up, repotted the survivors, said my apologies and started replanting. 

I salvaged 14 out of 36.  Geez I feel like the Grim Reaper of tomato plants.

9 Arkansas Travelers
1 Amish Paste
2 Chadwick Cherry
2 Russian Gypsy

Although its not a huge loss I was disappointed by not having enough Amish Paste in particular.  I was planning on counting on them for the majority of my canning tomatoes, so I decided to resow some more seeds.  I do think its fitting though that the variety that best survived (Arkansas Traveler) was cultivated and saved for generations here in Arkansas and it was best suited to survive our manic weather patterns.

I still have plenty of time, I was just hoping to get them to harvesting size before the summer heat decreases their production and I have to fight off the blister beetles and hornworms.

Oh well, I can still make due, but it made me stop and think how lucky we are to not HAVE to depend on our garden to put food on the table.  How much more disappointed I would be if my gardening failures meant no food on the table?  So I will not gripe too much more about my bonehead mistake and I will say a prayer that the gardeners around the world who depend on their harvests will have a bountiful year ahead.




Friday, March 22, 2013

Easter Egger Chicks


We happened to wander in Orscheln's the other day and they just happened to have just gotten their first chicks in and we just happened to go check out what breeds they had new for this year that we don't have and well you know what happened from there.

The good news is we only adopted 5 more pullets, at least this way we will KNOW for sure they will be hens.  As for the chicks we are hatching from our adult flock, no idea.

We thought that adding Auracanas to our flock would add genetic diversity, more color and of course cute pastel colored blue and green eggs!

Sierra

Midnight, Goldie, Pippi, and Sandy

Midnight looking very serious

All the chicks getting to know one another out in my greenhouse.  There is a big difference between the 3 week old chick, the 2 week old chick and the days old chicks in this picture.  They grow FAST!

Sunday, March 17, 2013

How to Prep Seed Potatoes


In honor of St. Patrick's day and my Irish ancestors, I will devote today's blog post to the most versatile side dish that ever did sprout...the TATER.  Potatoes are cheap so why should you grow your own?

Because they are easy to grow and when they are just outside your door you never have to worry about having enough for the recipe you need.  Just go out and dig up a few immature spuds and call them "new potatoes", no emergency trip to Wal-Mart necessary.  Plus they keep for a very long time if kept in a cool place during the fall and winter so your summer harvest could last you well into spring if properly stored.  As always too, so that you can know exactly where your food has come from, what it has/has not been sprayed with and exactly how old it is; lessening your own carbon footprint and saving you money.

Plus you can grow them in cool new ways like we are in our potato towers.  I have even heard of people growing them in stacked tires, but of course you can always do it like the Irish did and just bury them in the dirt.  They aren't picky, just keep them well watered.  As long as they are prepared correctly for planting you should not have any trouble.


Here is how you prep your seed potatoes for planting:

  1. Choose a certified disease-free seed potato, like this large Kennebec white variety.  This is important so that you do not start out with already sickly potatoes.

  2. Leaving two to three eyes per potato and about 1-2 inches of "flesh" on the spud, cut them in to halves or quarters to get the most out of your seeders.

   3. Lay them out in a cool, dry spot with the cut side facing up and let them scab over.  This allows a scab to form over the exposed flesh to keep them from rotting and molding.

    4.  After about 3 days a hardened scab should form and now your seed potatoes are ready for planting.


Plant potatoes outside 3-4 weeks before the last anticipated frost date.  Potato leaves are very sensitive to cold so if you plant them too early the may be killed by cooler temperatures


Saturday, March 16, 2013

Dutch Oven Apple Tarte Tatin

Today was such a beautiful day and I am so glad that I got the chance to attend a French themed Dutch oven cooking demonstration at our local state park.
I had no idea what a Dutch oven even looked like before we went, but after being shown a few basics I am sure that anyone can cook this recipe without any trouble. 
With these ingredients, hot charcoal and a large Dutch oven you can make an awesome dessert with very little effort. 

Ingredients:
  • 5 large apples
  • 2 tbsp butter
  • 3/4 cup sugar
  • 1 package pastry puffs (for top crust)
  • 1 can of Sprite
  1. Place the apples quartered and cored in the bottom of the pot.  Pour one can of Sprite in with the apples. Place number of hot coals on top of and below your oven as recommended for its size and temperature. Ours was a 10 inch pot that we kept at about 425F for about 30 minutes using 18 coals on top and 9 coals on bottom. 
  2. While the apples were cooking we caramelized the sugar on top of a propane camp stove in a metal bowl.  Interesting set-up but do-able in a camping or emergency situation.
  3. We melted the butter, then added the sugar and heated it stirring constantly until it turned brown and caramelized.  About 5 minutes on high heat on the camp stove.
  4. Next we added the caramel to the cooked apples and place the pastry puff sheets on top. 
  5. We put the lid on and let it bake for another 30 minutes. 
  6. When you are baking make sure you turn the pot a quarter turn every 10-15 minutes to keep crust evenly heated. 
  7. Remove from heat and let cool for a few minutes. 

I am super excited about this dessert.

Can't you tell?

So delish!!!